
How To Password Protect An Excel File

If your Excel file contains sensitive data, you may want to password protect it. Before you add a password to your workbook, you must be aware that if you forget your password, you will not be able to open your Excel File and you will be unable to recover the data in the workbook. It’s very important that you chose a password that is secure, yet memorable. In this article we discuss how to password protect an Excel Workbook in Excel for Windows and Excel for Mac.
How to password protect an Excel File in Excel for Windows:
1. Click on the ‘File’ Tab in the top left corner of Excel.

2. Click on ‘Info’ and then click the ‘Protect Workbook’ button.

3. Select ‘Encrypt with Password’ from the drop down list

4. Type in your chosen password and click ‘OK’

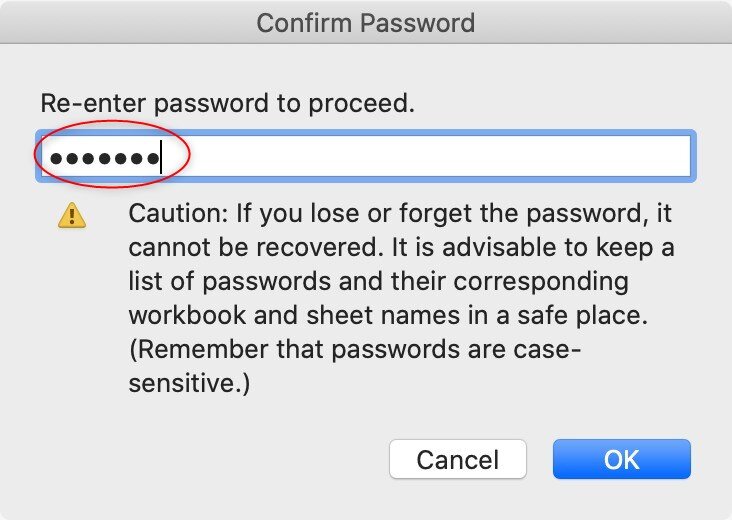
5. Confirm your password and click ‘OK’

Your workbook is now password protected! You can update your password by repeating the outlined steps.
How to password protect an Excel File in Excel for Mac:
Click on ‘File’ and then select ‘Passwords’

2. Enter a Password in the ‘Password to open’ box and click ‘OK’

3. Confirm your password and click ‘OK’
Your workbook is now password protected! You can update your password by repeating the outlined steps.